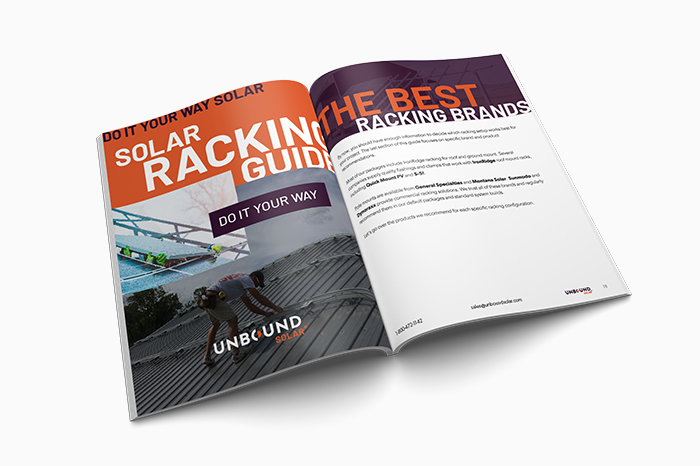
Solar Panel Mount Info
Types of Solar Mounts
Ground Mounts
Ground Mounts are probably the easiest way to mount solar panels. This mount resembles an A-frame. It safest to attach this structure to a cement slab so that it may be secured in place. Ground mounts are designed to handle from 1 to 8 solar modules. Ground mounts can be used to attach solar panels to the ground, to a roof and or to a vertical surface. Some ground mounts have tiltable, or adjustable legs; others are fixed. Optional adjustable tilt legs are available for several of the styles of panels Unbound Solar sells.
Roof Mounts
Roof mounts look neat, but are hard to reach to adjust the angle. Will you want to walk across your roof several times a year to adjust the angle? Does it snow often? Will you have to walk across a slippery roof to sweep snow off the panels? Is the slope of the roof you want to use good for optimum solar panel efficiency or will you need tilt legs to face your panels more perpendicular to the sun?
The Solar Mount rail system can be used for flat roof mounts or for tilted mounts. The tilt mounts can be placed horizontally, called horizontal mode, or vertically, called landscape mode. The rail system is versatile and easy and there are many choices. The most common type of rail mounts are attached to the roof first and the panels are attached from above.
Pole Mounts and Trackers
For home solar arrays, we generally recommend mounting solar panels at the top of a sturdy pole. This is called a pole top mount. They are easy to install. They keep the panels off the ground and out of harm’s way but are easy to adjust and to reach for snow removal. Yes, when the snow stops falling and the sun comes back out, you want to be able to sweep the snow off those panels. So think about where you place them, how far they are from the house, and how high up they are.
A pole top mount can be either fixed, which means it holds the panel stationary, or it can move, or track, with the sun. A solar panel mount that allows the panel to move with the sun is called a tracker. Fixed Racks can include Ground Mounts, Roof Mounts, Pole-Side Mounts, Boat/RV Mounts, as well as Pole Top Mounts. All trackers are mounted on poles, and so are technically pole top mounts.
The pole of a pole top mount must be anchored in the ground by digging a hole and filling it with concrete. The size of hole in diameter is usually 18 inches to 2 feet (18 inches plus the diameter of the pole). The depth of the hole must be 1/2 of the height of the pole above ground. If the pole will be 7 feet above ground, you have to dig a 3 1/2 foot hole.
Side-of-Pole Mounts are designed to hold 1 to 4 modules and are mounted to the pole with either hose clamps or U-bolts (not provided). The racks accommodate different sized poles and are adjustable for optimal sun angle from 15 to 65 degrees in 10-degree increments. Pole size is determined by the number of modules to be mounted.
Mounts For Mobile Applications
Vehicle mounted racks (RV or boat mounts) allow you to safely attach your panels where you need them, when you need them.
Mounting Your Panels To Maximize Efficiency
Placement and Angle
The placement of your solar panels, whatever kind of mounting system you are using, can make a huge difference in the amount of electricity you are able to produce. Be very careful not to place your panels in an area that is shaded by trees or buildings or any other object. Note carefully that the shadow made by your house moves at least 22 feet farther to the north in the winter. If you place your panels within that distance, you’ll be very disappointed during those short winter days.
Solar panels produce the most electricity when they are facing as close to perpendicular as possible. As the sun travels at varying angles throughout the year, you need to adjust the angle to the sun at least four times a year. The closer to perpendicular they are, the more output you will get. We recommend that you change the angle on your solar panels on these dates:
- February 5th – Set to same angle as your latitude.
- May 5th – Set at the same angle as your latitude minus 15 degrees. At noon the panel will be almost horizontal to the ground.
- August 5th – Set at the same angle as your latitude.
- November 5th – Set at the angle of latitude plus 15 degrees. This tilts your panels towards the sun as it travels low in the southern sky during the winter.
From Unbound Solar you can buy a mount which holds a single solar panel or you can buy a mount which holds several panels. Buy a pole mount for the size array that you want to grow into. If you are buying two panels right now, buy a rack that will hold these two and the two more you will want in the future. This is more cost effective than having to add another rack later. (You’ll appreciate this advice as you dig the hole for the pole.)
Panels which are mounted on the roof of a residence are required by U.L. code to have ground fault protection, which can add $200 – $240 to the cost of your system. All panels should be grounded to minimize or avoid damage from lightning strikes.