Grid-Tied
After completing the project, Dan said it was the best feeling in the world. Despite everything with the utility company moving slowly, Dan was proud of his accomplishment and thrilled to have taken on this project in his retirement.
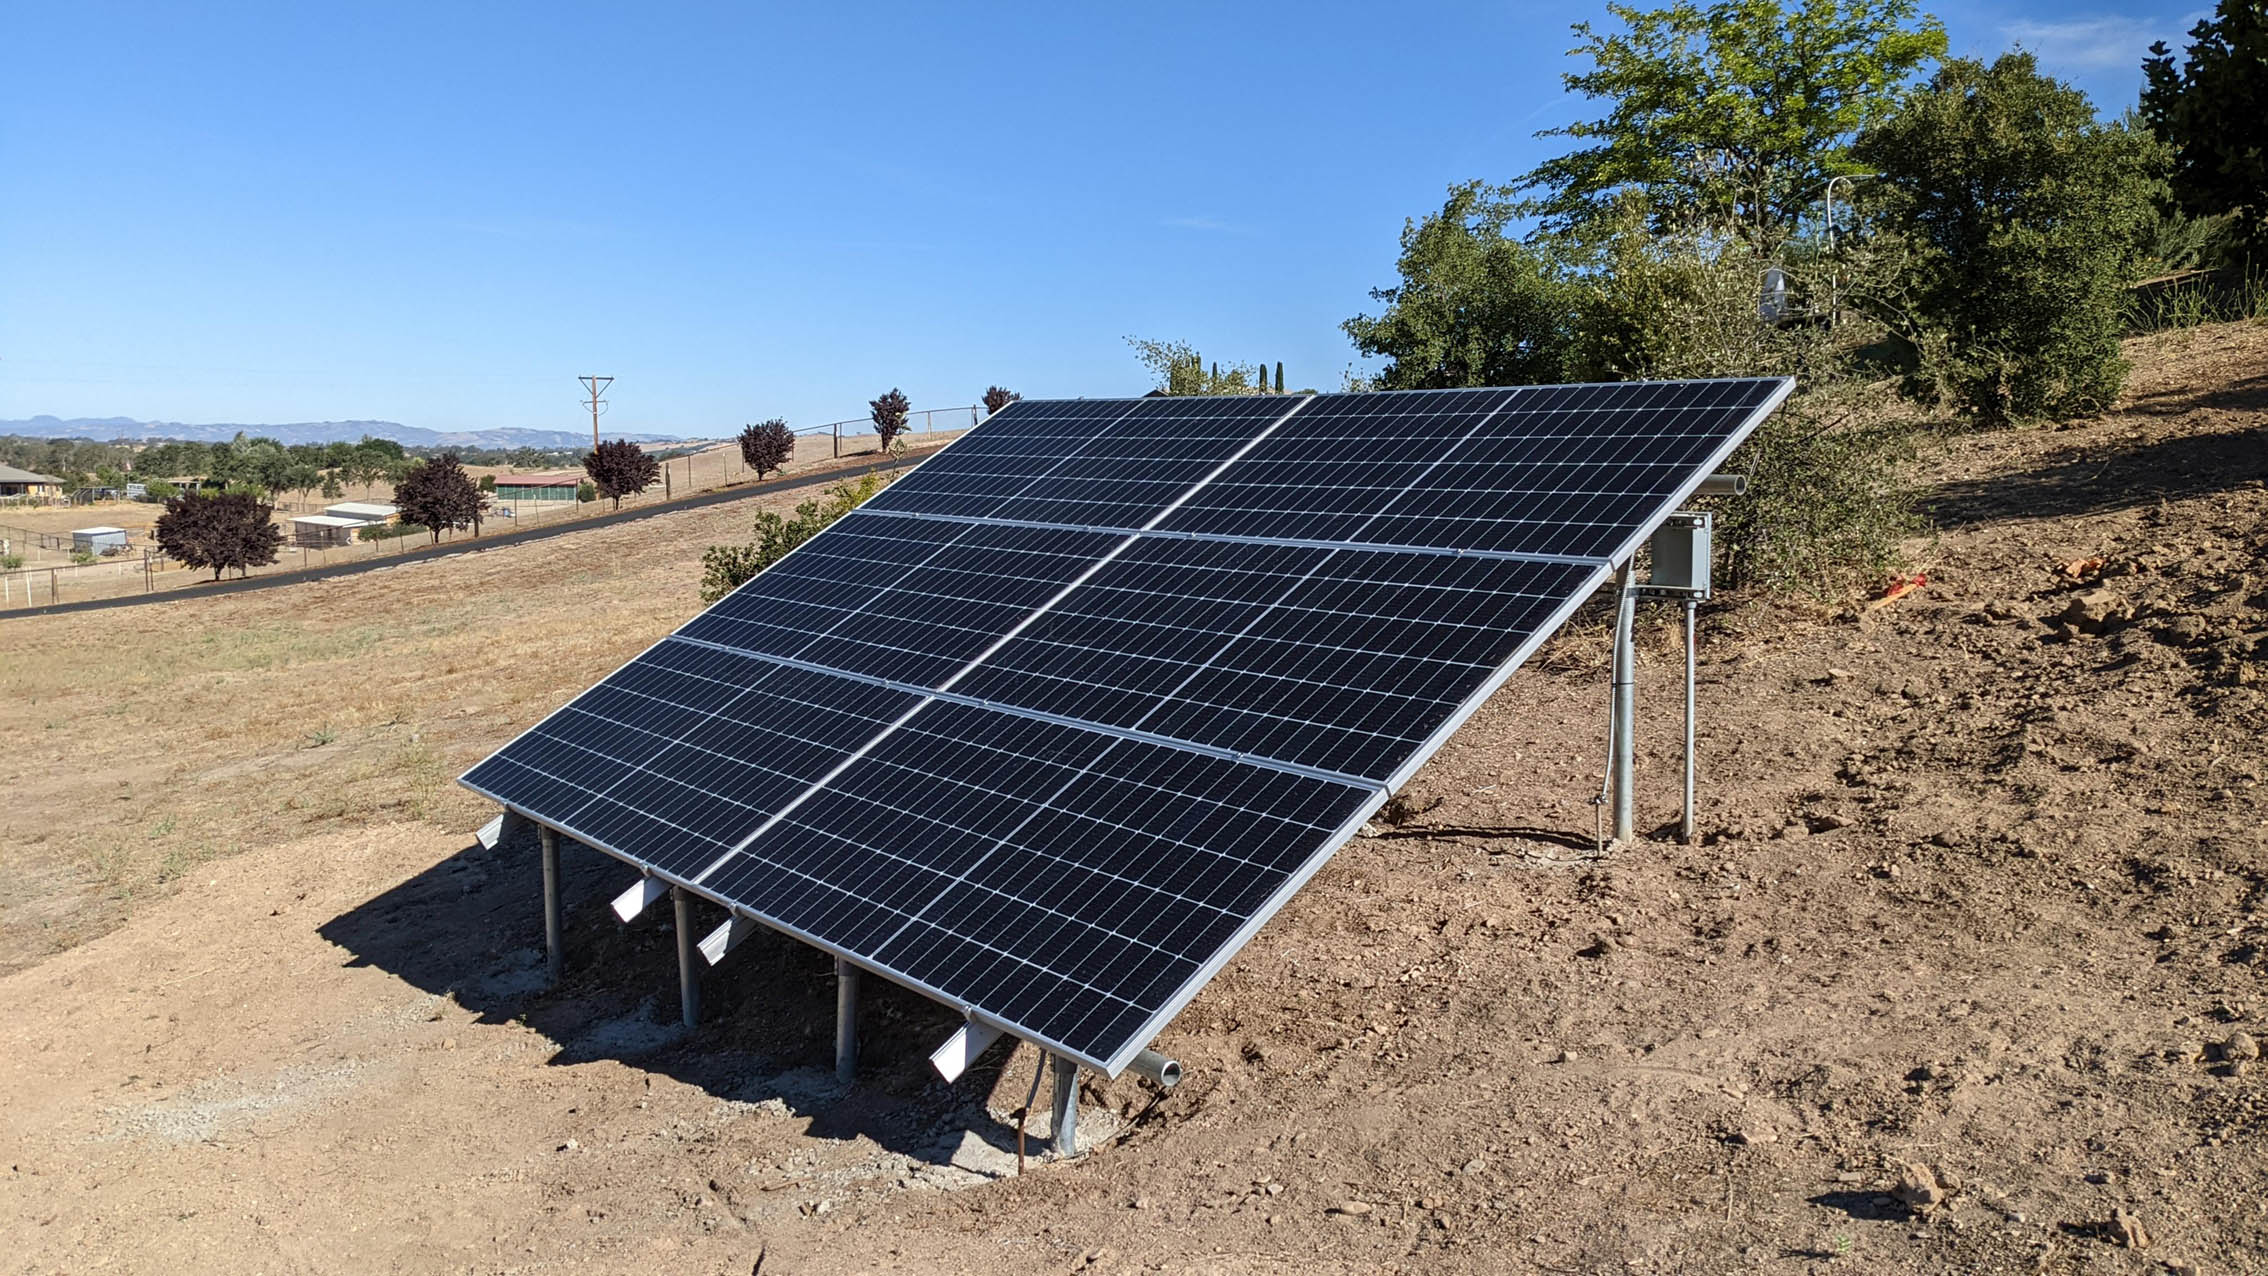
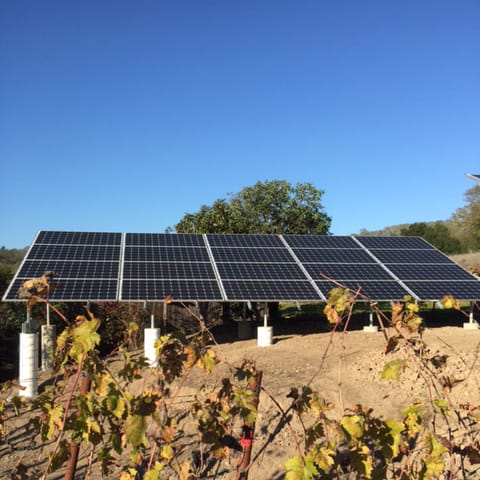
Meet Dan Penkauskas, a retired DIY enthusiast who recently installed his own Grid-Tied Ground Mount System. Dan’s handyman skills have always been moderate, with experience in tasks such as installing and fixing faucets, repairing irrigation lines, and installing gas water heaters. With retirement giving him ample free time, he decided to take on the challenge of installing a ground mount solar system.
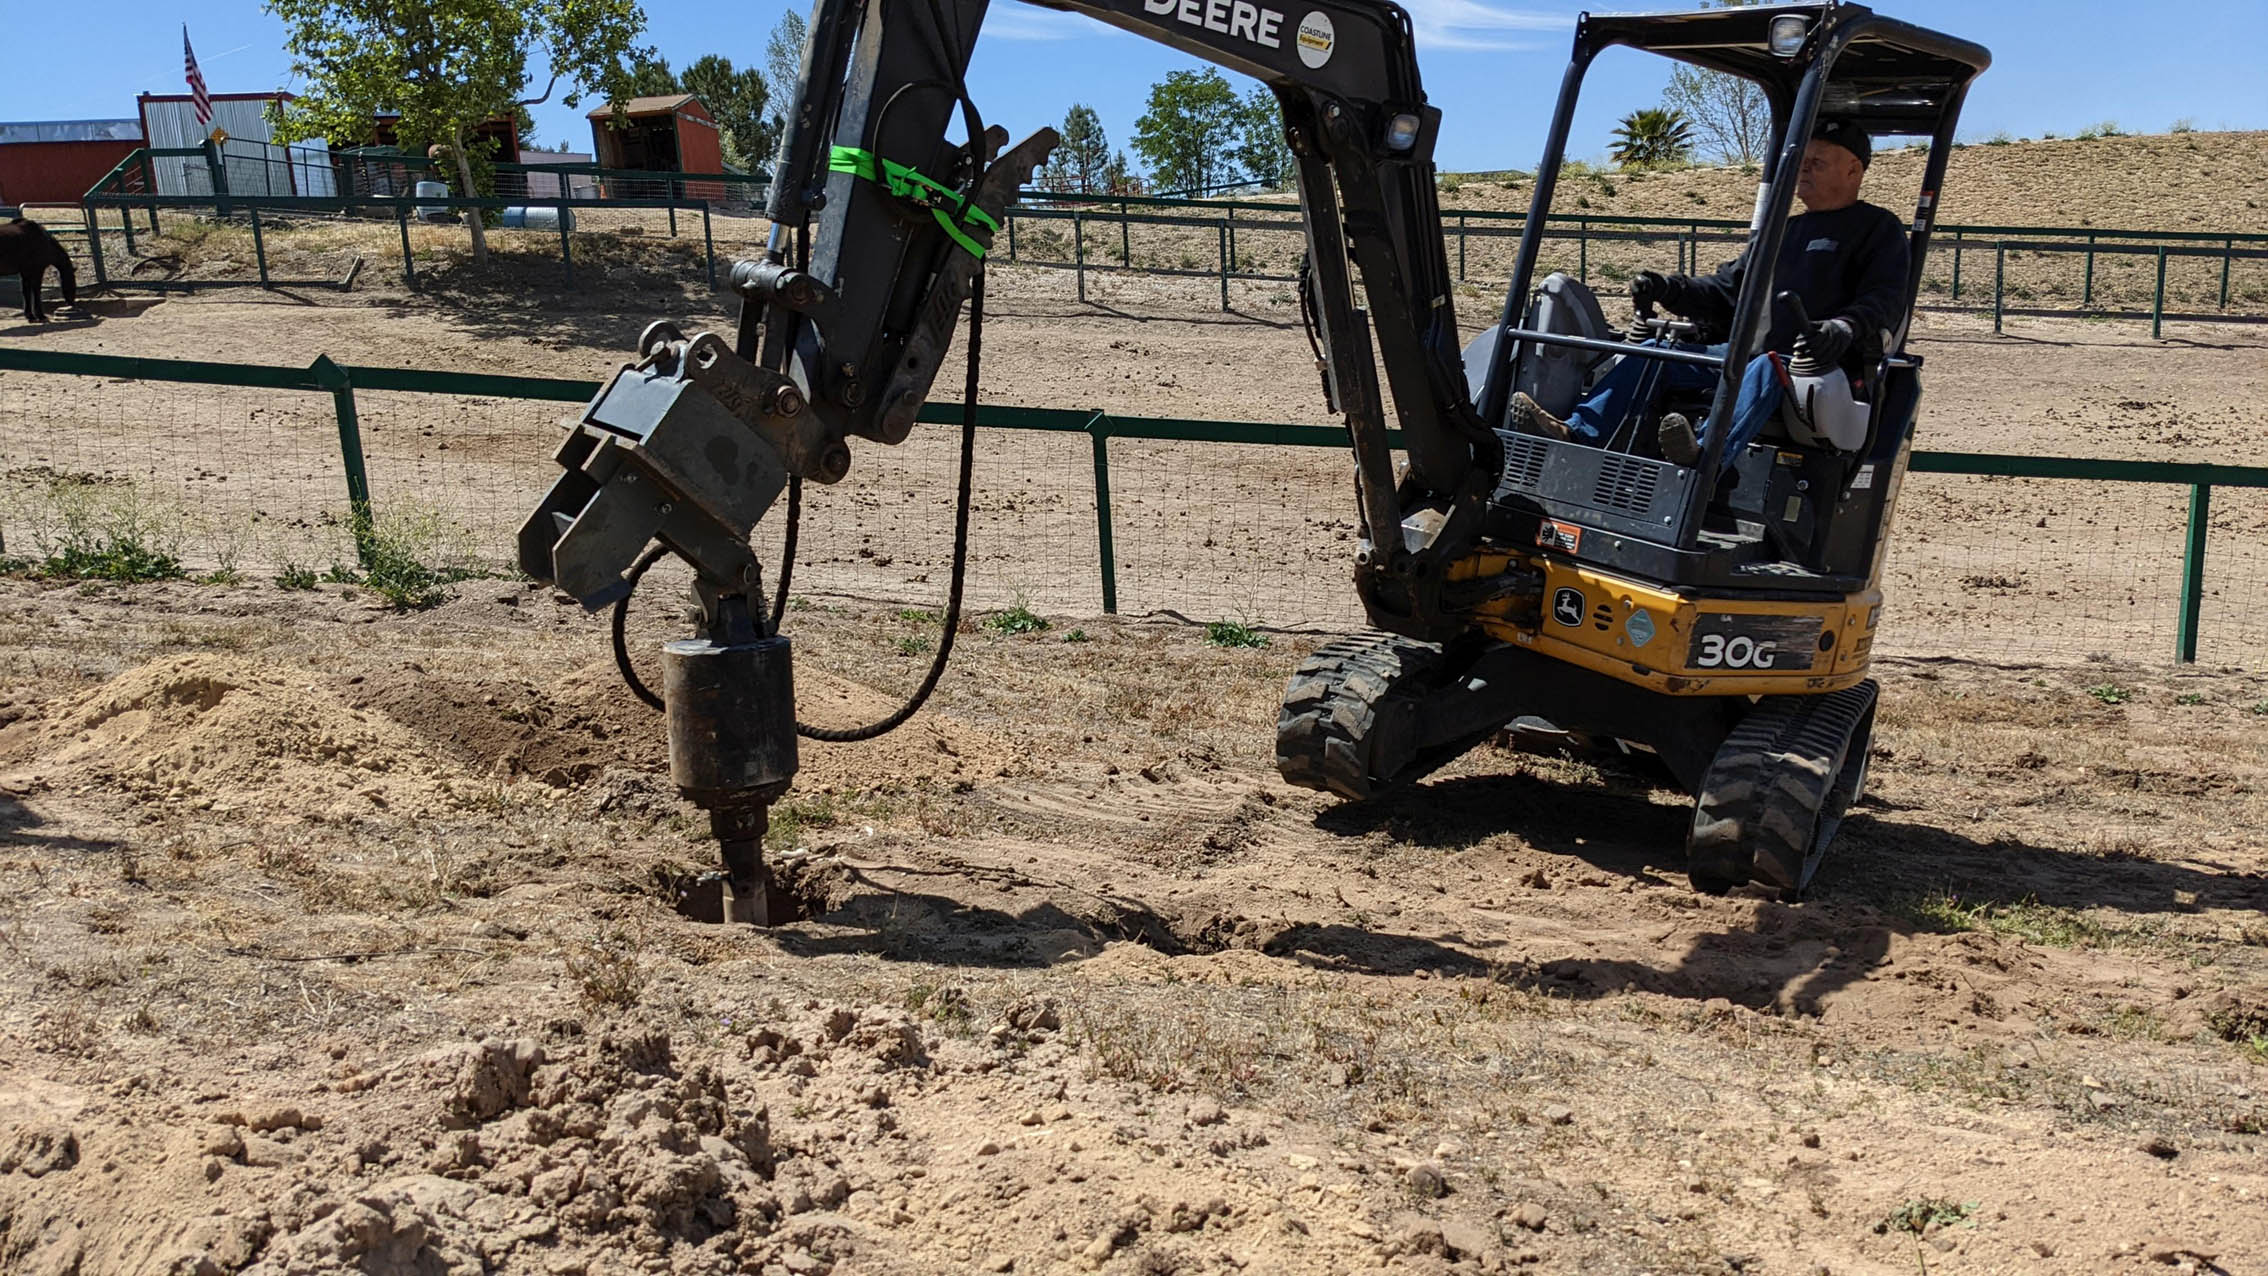
The most challenging part of the installation, according to Dan, was laying out and performing the excavation holes and trenching for the ground mount. The location for the ground mount was on a hillside facing SW, and to achieve an optimal 185° azimuth, every support leg needed to protrude from the ground at a different height. This meant assembling the North and South piers with the crossbeam pipe, then positioning the outboard legs at the correct elevation and allowing the inboard legs to dangle, requiring lots of measuring and repositioning.
The installation plans required eight 12″ diameter holes, each five to six feet deep, plus a 100′ conduit trench. However, they broke an auger mounted on a tractor when encountering a rock layer about three feet down, necessitating a call to a professional excavator who dug all eight holes and trenched the line in less than four hours.
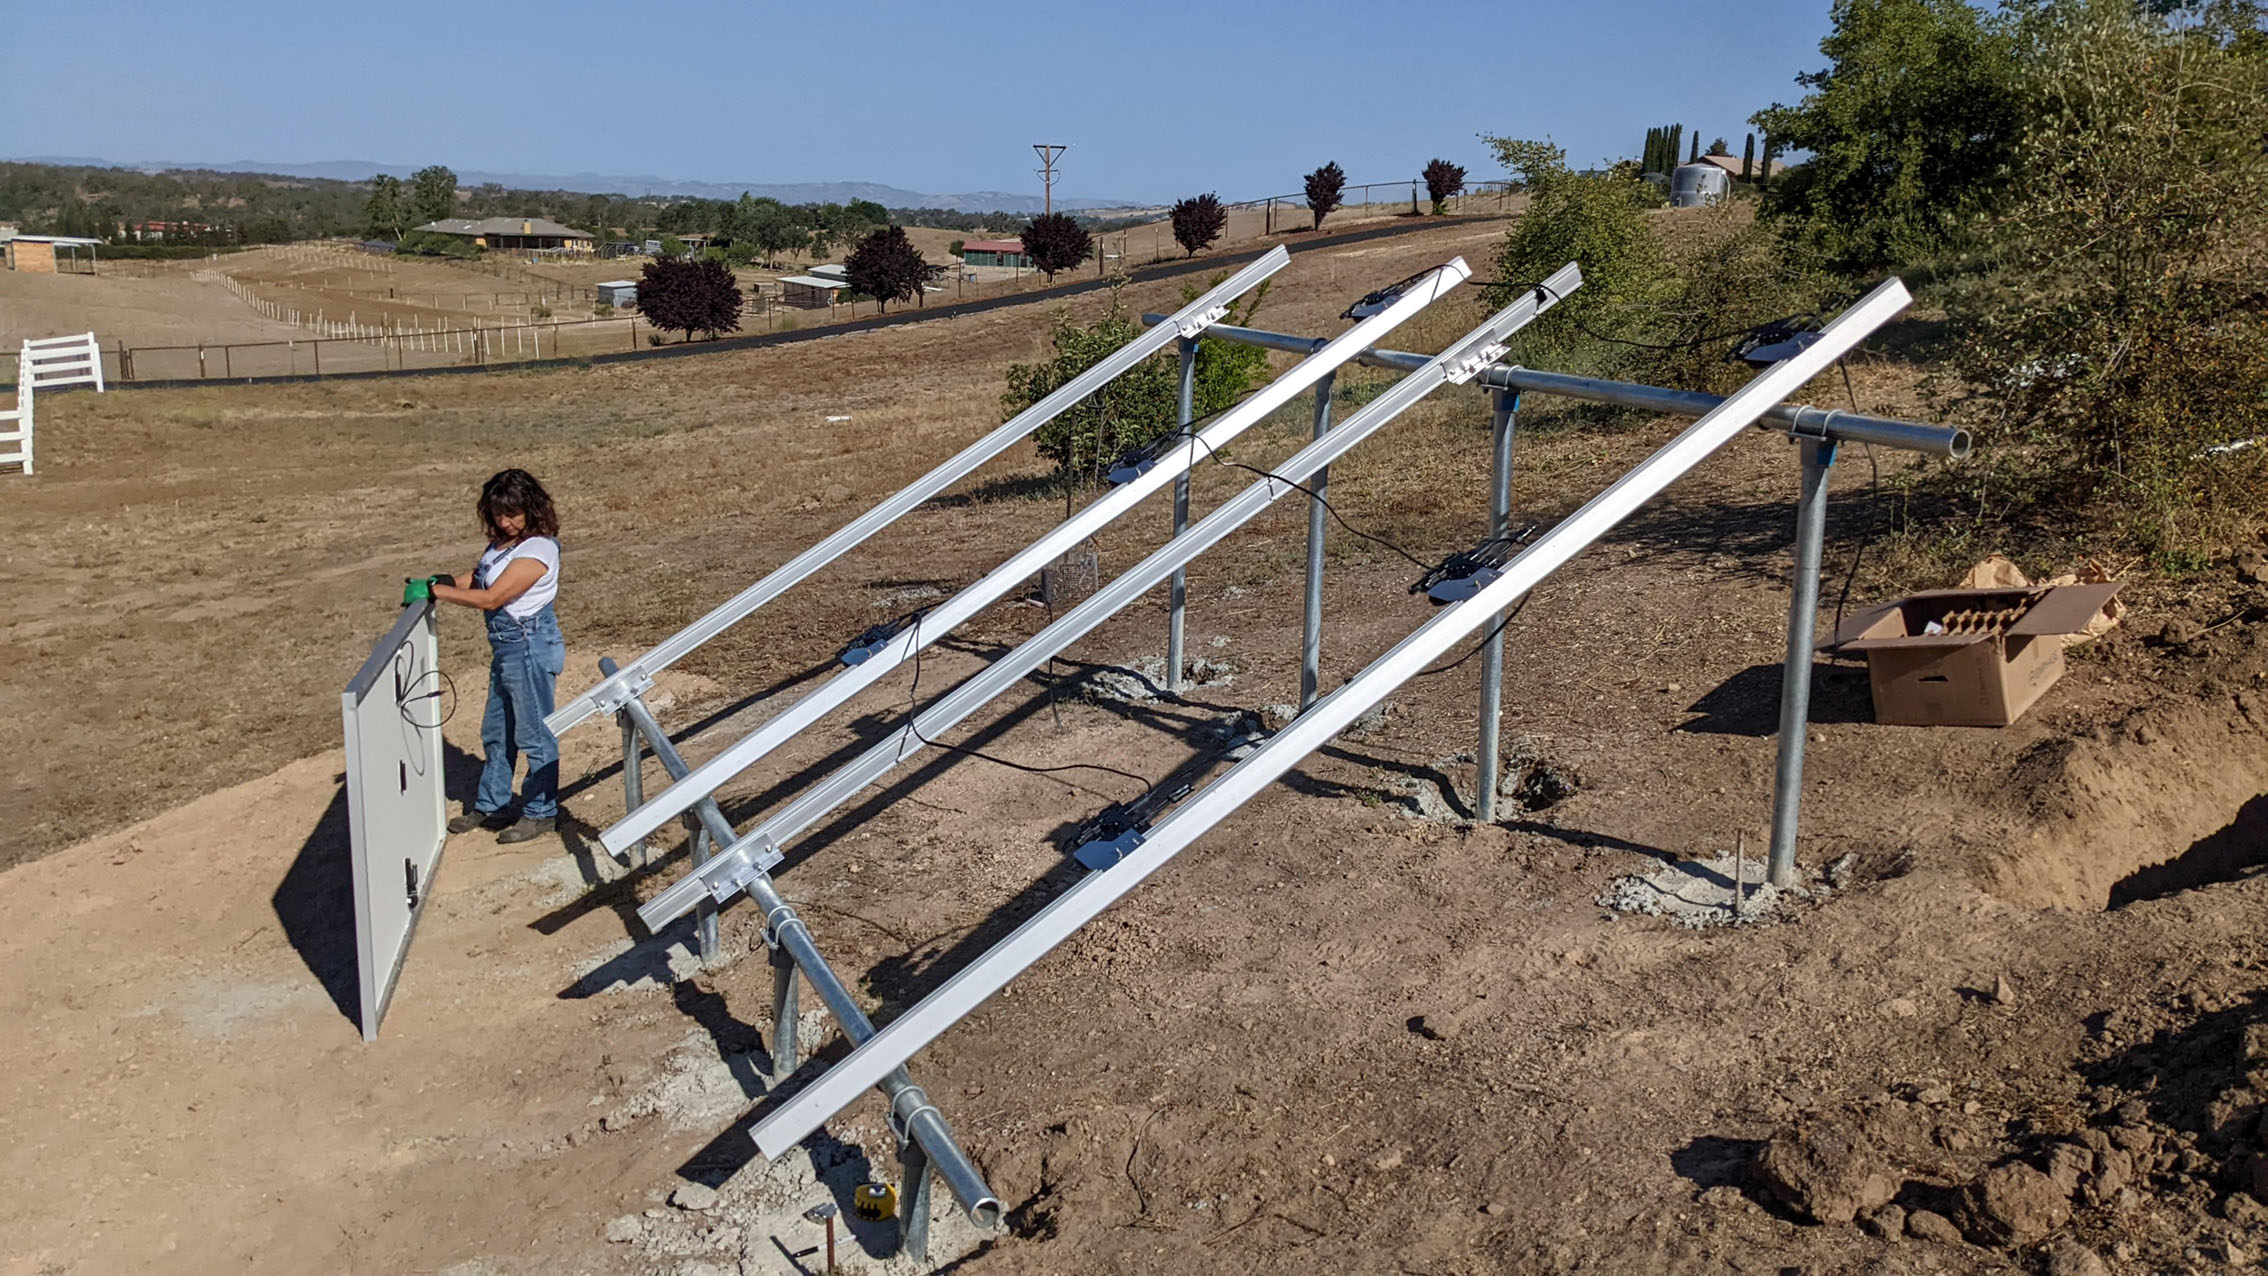
Dan did about 80% of the job by himself, with his wife helping out as an extra hand and for lifting and setting the North and South piers. They needed an excavator and electrician for the last five feet of wiring, and Dan was hesitant to work near the live utility legs to install the consumption transformers.
Luckily, Dan did not require any additional parts or tools as the purchased parts from Unbound were just right, and the remaining items such as piping, wiring, etc., were fully documented for local sourcing.
Dan broke down the process into ten steps,
- Securing building permits from the County – 15 minutes
- Ground mount layout – 2 days
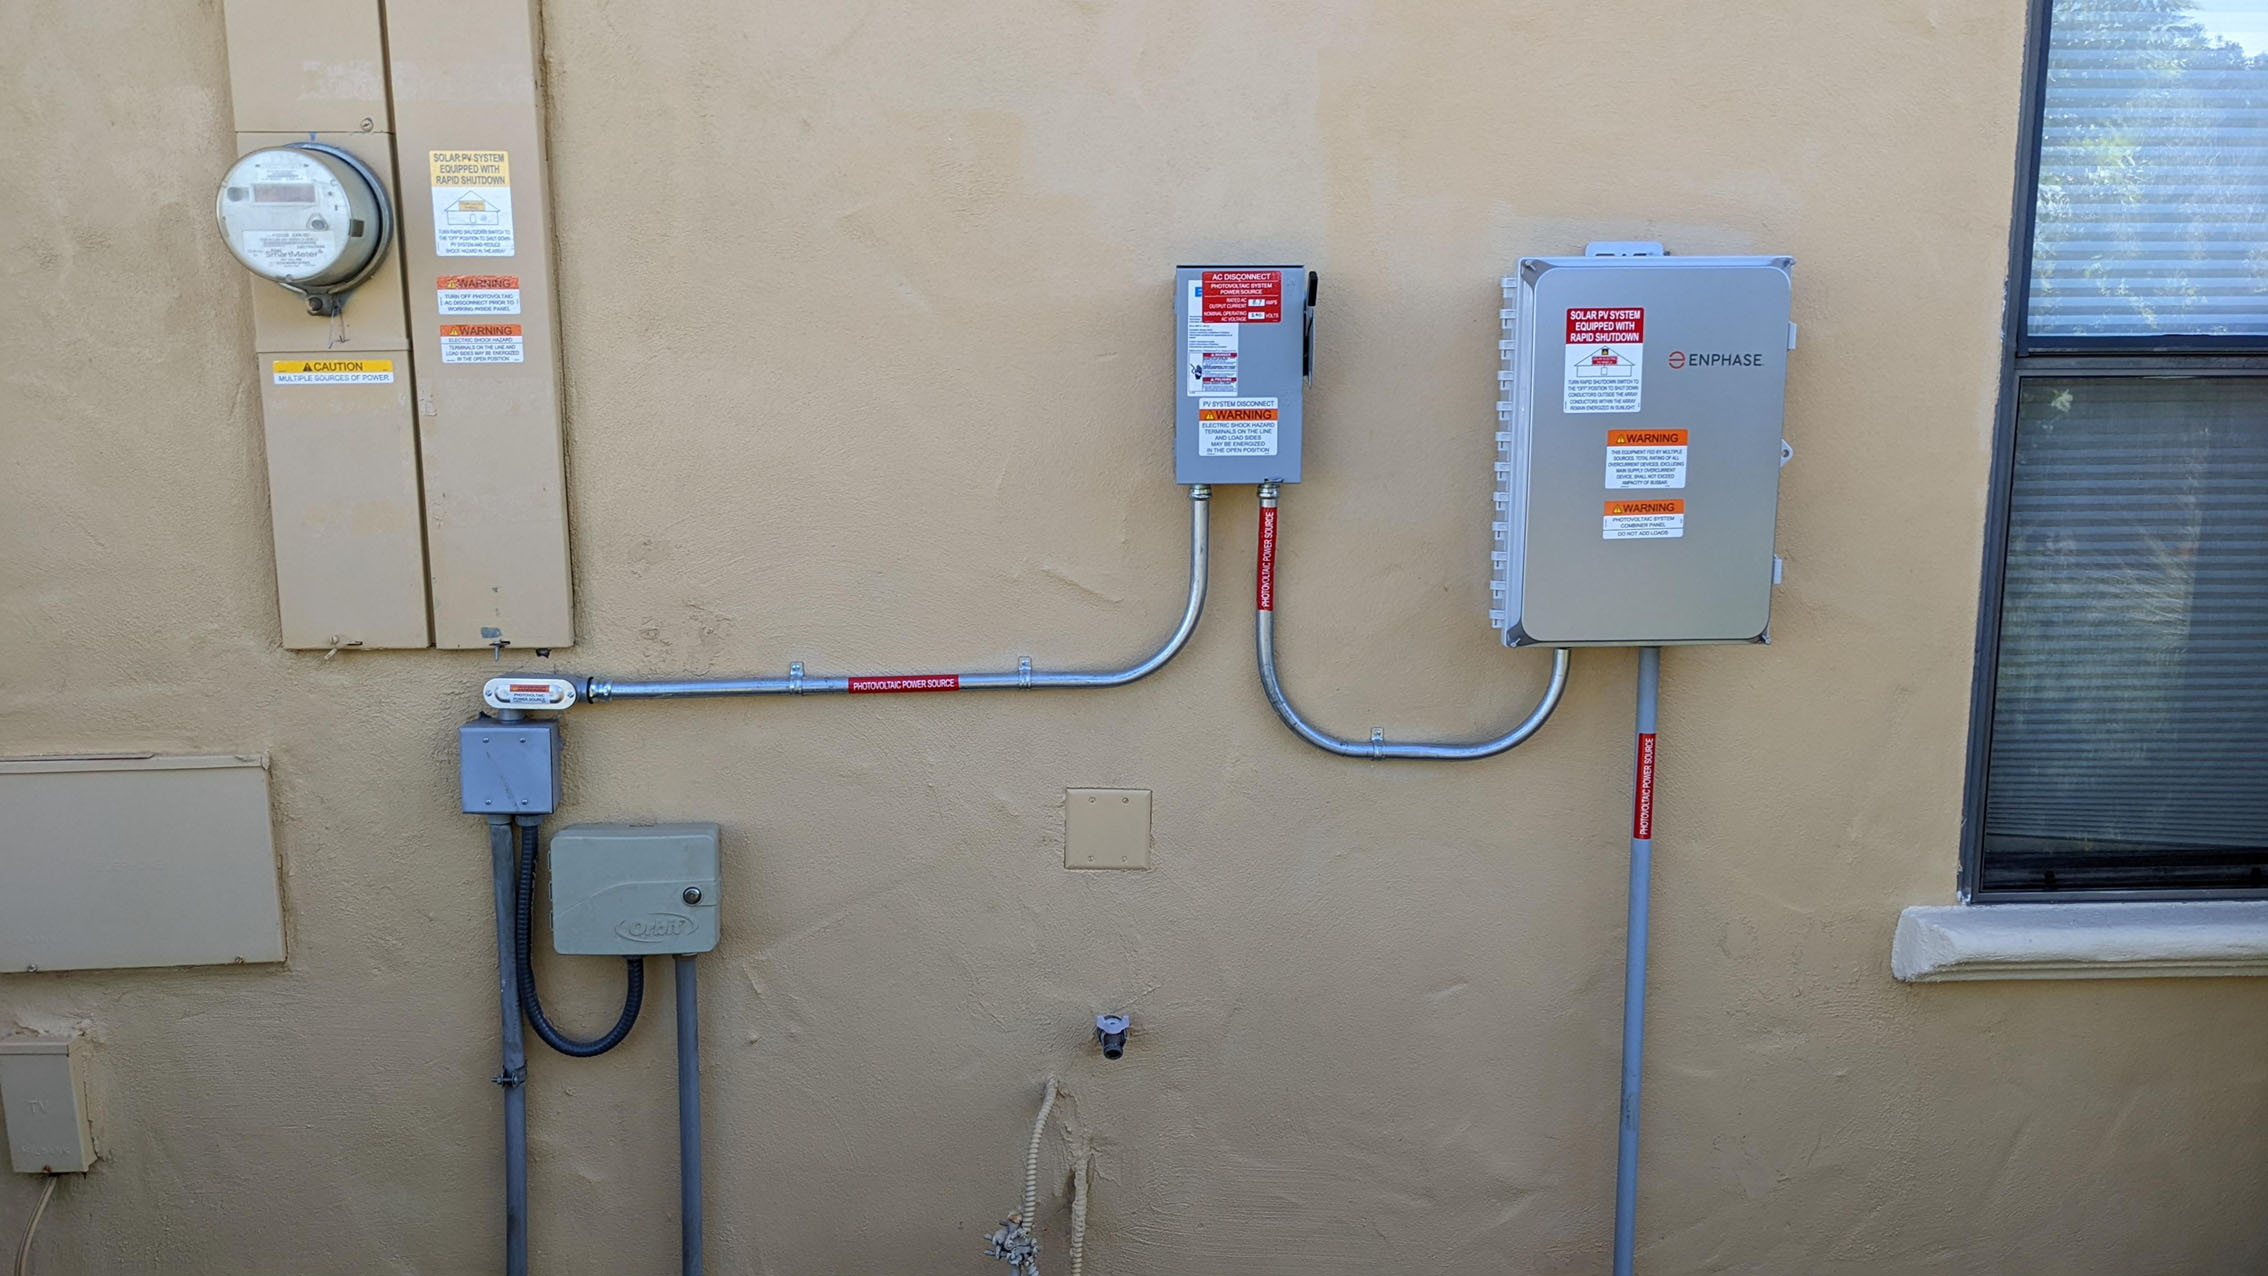
- Excavation – 5 days (Lots of careful digging near the house to avoid existing pipes and conduits. See in the photos how the concrete foundation next to the house needed to be cut away for the conduit.)
- Pounding two 10′ ground rods in the ground – 2 days
- Hanging the piers and setting in concrete – 2 days
- Installing solar panels and local array wiring – 1 day
- Installing electrical boxes, conduit, pulling wire, and wiring the boxes – 3 days.
- Professional wiring the AC disconnect to the main panel – 3 hours.
- Final inspection from the County – 30 minutes
- Securing electrical utility (PG&E) permission to grid-tie – 4 weeks
After completing the project, Dan said it was the best feeling in the world. Despite everything with the utility company moving slowly, Dan was proud of his accomplishment and thrilled to have taken on this project in his retirement.
Congratulations on the completion of your project Dan!
Send us your story if you’re an Unbound customer! We want to share your excitement!
Or
Continue Reading
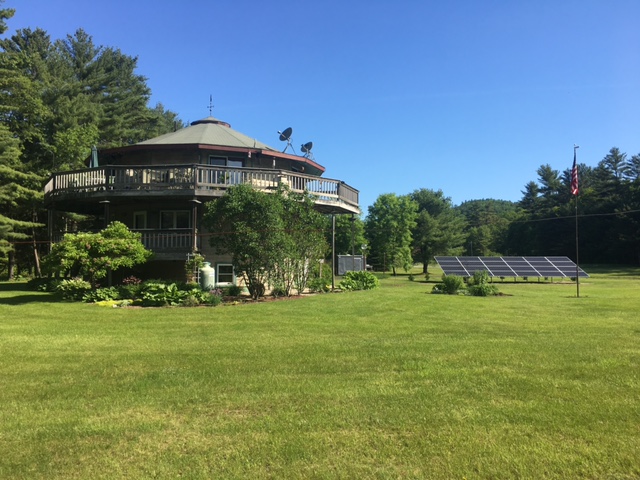
Install of the Month – September 2016
- System Size: 6.8 kW
- Yearly System Output: 11,297 kWh per year
- Federal Tax Incentive: Qualifies for $3,186 Federal tax credit
- Utility Rates: 13 cents/kWh
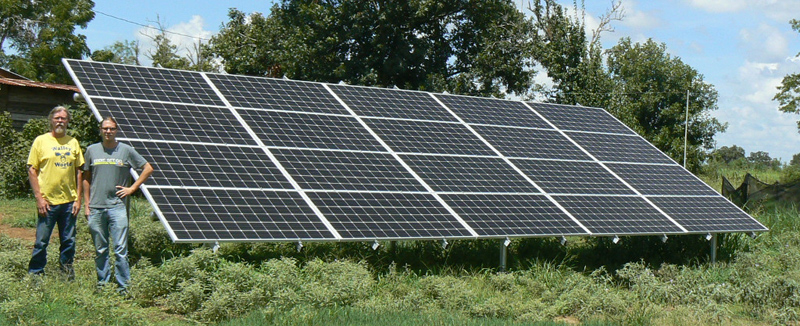
Install of the Month – September 2017
- System size: 8.85 kW
- Yearly System Output: 6,479 kWh per year
- Federal Tax Incentive: Qualifies for $3,961 Federal tax credit
- Utility Rates: 13 cents/kWh
Install of the Month – February 2017
- System Size: 12.8 kW
- Yearly System Output: 21,264 kWh per year
- Federal Tax Incentive: Qualifies for $7,444 Federal tax credit
- Utility Rates: 13 cents/kWh